Dreaming of freelance freedom but overwhelmed by where to start? You’re not alone. Many aspiring freelancers get stuck in endless preparation, but the truth is you can take your first freelance gig steps and launch within 24 hours. This design-to-invoice process isn’t about cutting corners—it’s about taking focused action that generates momentum. Whether you’re a designer, writer, developer, or virtual assistant, this streamlined approach will help you start freelancing fast and land your first client before analysis paralysis sets in.
The beauty of freelancing today is that powerful tools and templates make it possible to look professional from day one. In this guide, I’ll walk you through eight actionable steps that take you from zero to your first paid gig in just 24 hours. Let’s turn your freelance dreams into reality—starting right now.
Step 1: Niche Down & Package Your Service [1 Hour]
The fastest way to start freelancing is to focus on one specific service you can deliver exceptionally well. Rather than offering “graphic design,” package a specific solution like “24-hour logo design with 3 concepts and 2 revisions.” This clarity makes it easier for clients to say yes and for you to deliver consistently.
Begin by listing your top skills, then identify which one has the most immediate market demand. Next, create a simple service package with clear deliverables, timeline, and pricing. This focused approach is crucial for your first freelance gig steps.
Tools to help you package your service:
-
Canva - Create a professional service menu template
-
Google Docs - Draft your service description and deliverables
-
Milanote - Organize your service ideas visually
Pro Tip: Research competitors on Fiverr or Upwork to see how they package similar services. Don’t copy, but use their structure as inspiration for your quick freelance launch.
Step 2: Create a Minimal Portfolio [2 Hours]
You don’t need a complex website to start freelancing fast. A simple one-page portfolio is sufficient for your first gig. Focus on showcasing 3-5 examples of your best work, even if they’re personal projects or mock-ups.
Your minimal portfolio should include: your name, a brief bio highlighting relevant skills, work samples, your service package details, and contact information. This streamlined approach is perfect for the quick freelance launch process.
Portfolio creation tools:
-
Carrd.co - Create a simple one-page website in under an hour
-
Google Sites - Free, easy-to-use website builder
-
Notion - Build a shareable portfolio page with no coding
Pro Tip: No client work yet? Create 2-3 high-quality sample projects specifically for your portfolio. For designers, redesign existing brands; for writers, create sample articles; for developers, build a small demo app.
Step 3: Set Up Client Agreement Templates [1 Hour]
Professional agreements protect both you and your client during the design-to-invoice process. Instead of creating contracts from scratch, use templates that you can quickly customize for each project.
Your basic client agreement should cover: scope of work, deliverables, timeline, payment terms, revision policy, and intellectual property rights. Having these templates ready before you pitch will accelerate your first freelance gig steps.
Contract template resources:
-
AND.CO - Free contract templates specifically for freelancers
-
Bonsai - Professional contract templates with electronic signatures
-
Contract Bundle by The Contract Shop - Industry-specific templates
Pro Tip: Include a 50% upfront payment requirement in your contract to secure commitment and improve your cash flow from day one. This is standard practice in freelancing and helps filter serious clients.
Step 4: Set Up Simple Payment Processing [30 Minutes]
Getting paid should be frictionless for both you and your clients. Setting up professional payment processing is a crucial part of the design-to-invoice process and takes just minutes with today’s tools.
Choose a payment processor that allows you to send professional invoices and accept credit cards or digital payments. Make sure your solution can handle deposits and final payments to match your contract terms.
Payment processing options:
-
Wave - Free invoicing and payment processing (2.9% + 30¢ per transaction)
-
PayPal - Widely accepted with invoice capabilities
-
Stripe - Professional payment processing that integrates with many platforms
Pro Tip: Create invoice templates with your branding before you need them. Include your payment terms, multiple payment options, and a thank you note to maintain professionalism throughout the design-to-invoice process.
Step 5: Find Your First Client [3 Hours]
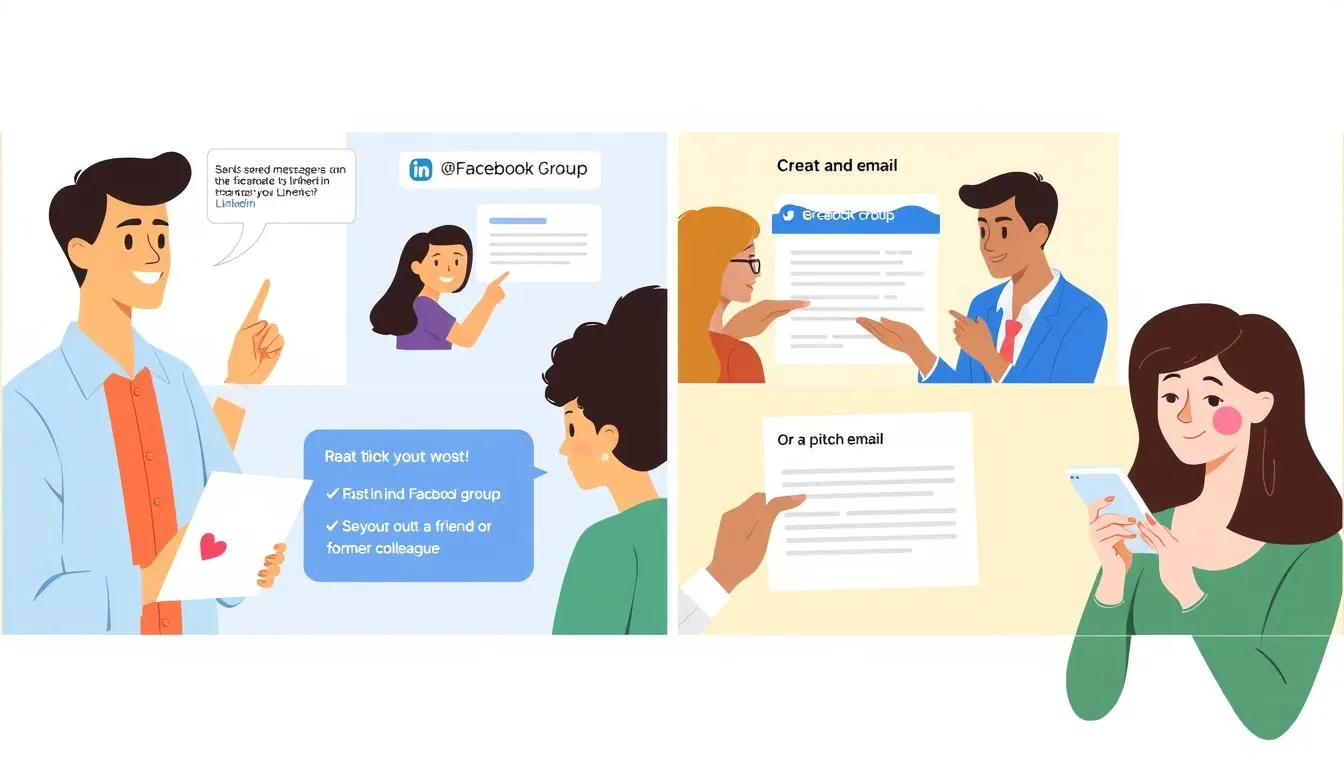
The fastest way to land your first freelance gig is to tap into your existing network rather than competing with thousands of others on freelance platforms. Start with people who already know and trust you.
Create a simple outreach message explaining your new service and asking if they know anyone who might need it. This warm approach yields much better results than cold pitching for your first freelance gig steps.
Where to find your first client quickly:
-
Personal contacts - Friends, family, former colleagues, and classmates
-
Facebook Groups - Industry-specific or local business groups
-
LinkedIn - Update your profile and message relevant connections
-
Local businesses - Small businesses in your area often need freelance help
Pro Tip: Offer a limited-time “launch discount” of 25% off your regular rates to incentivize quick decisions. This creates urgency while acknowledging you’re building your portfolio, making it easier to start freelancing fast.
Step 6: Nail Your Client Onboarding [1 Hour]
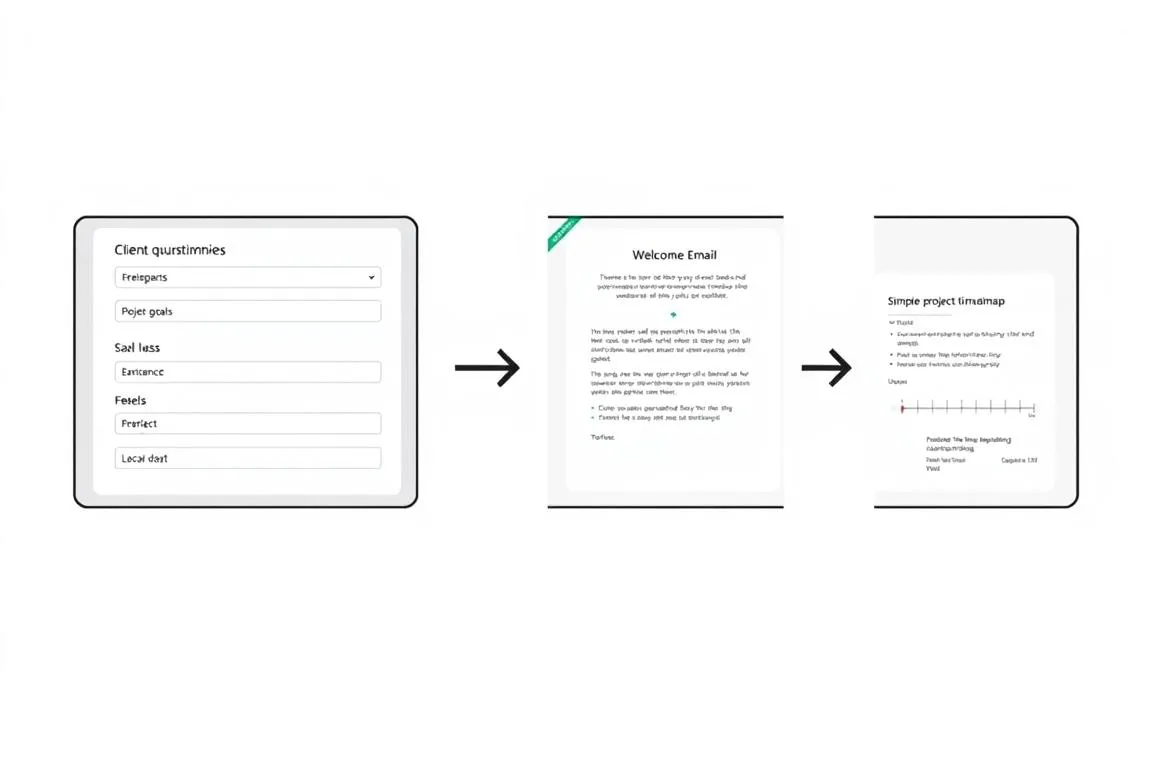
A smooth onboarding process sets the tone for your entire client relationship. Create templates for each step of your onboarding workflow to save time and present a professional image from day one.
Your basic onboarding process should include: a welcome email, client questionnaire to gather project details, a contract for signing, and invoice for the deposit. Having these ready accelerates your design-to-invoice process.
Onboarding essentials:
-
Welcome email template - Set expectations and next steps
-
Client questionnaire - Gather all necessary project information
-
Project timeline - Visual representation of the work process
Pro Tip: Create a simple “Welcome Guide” PDF that explains your process, communication preferences, and what clients can expect when working with you. This small touch adds tremendous professionalism to your first freelance gig steps.
Step 7: Deliver Your First Project [Varies]
Delivering your first project successfully is crucial for building confidence and securing testimonials. Break down your work into clear phases with internal deadlines to ensure you stay on track throughout the design-to-invoice process.
Focus on overcommunication during your first project. Send progress updates, ask clarifying questions early, and manage expectations about revisions. This approach prevents misunderstandings and demonstrates professionalism.
Project delivery tools:
-
Trello - Track project tasks and progress visually
-
Google Drive - Share drafts and collect feedback
-
Loom - Record video explanations of your deliverables
Pro Tip: Deliver something small ahead of your deadline to build trust. This could be a style tile, outline, or prototype. Early deliverables show progress and give you time to course-correct if needed.
Step 8: Complete the Project & Request Referrals [1 Hour]
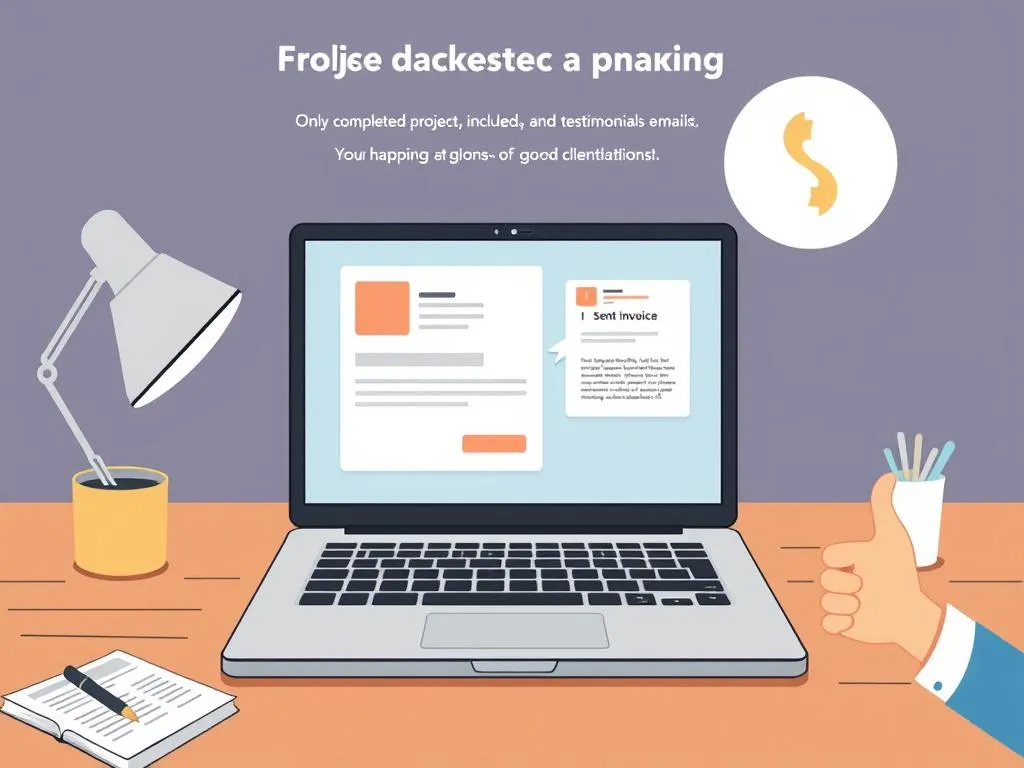
The final step in your design-to-invoice process is properly closing the project and setting yourself up for future work. Create templates for your final delivery email, feedback request, and testimonial request to streamline this process.
Send your final invoice promptly after client approval, along with a project recap highlighting the value delivered. This professional touch completes your first freelance gig steps on a high note.
Project completion checklist:
-
Final delivery email with all deliverables clearly organized
-
Final invoice with clear payment terms
-
Testimonial request with specific questions to guide their response
-
Referral request with easy sharing options
Pro Tip: Offer a small discount on future work when clients provide both a testimonial and referral. This incentivizes them to help grow your business while securing repeat work.
Start Your Freelance Journey Today

You now have all the first freelance gig steps needed to launch your freelance career in just 24 hours. This design-to-invoice process isn’t about perfection—it’s about taking action and learning through real client work.
Remember that every successful freelancer started with a single project. By focusing on delivering value, communicating clearly, and asking for referrals, you’ll build momentum that turns your first gig into a sustainable freelance business.
The most important step is the first one. Choose your niche, create your minimal portfolio, and reach out to potential clients today. Your freelance journey begins now!
Frequently Asked Questions About Starting Freelancing Fast
Do I need a website to get my first freelance client?
No, you don’t need a full website to start freelancing fast. A simple one-page portfolio using tools like Carrd.co or even a well-crafted LinkedIn profile can be sufficient for your first freelance gig steps. Focus on showcasing 3-5 examples of your work and a clear service offering.
How much should I charge for my first freelance project?
For your first project, research market rates for your service and start at the lower end of the range—but never work for free. A good rule of thumb is to charge 25-30% less than established freelancers while you build experience. As you complete more projects, gradually increase your rates to match market value.
What if I don’t have any portfolio pieces yet?
Create 2-3 high-quality sample projects specifically for your portfolio. For designers, redesign existing brands; for writers, create sample articles; for developers, build a small demo app. These self-initiated projects demonstrate your skills just as effectively for your first freelance gig steps.
Should I use freelance platforms like Upwork or Fiverr to find my first client?
While platforms can be useful later, they’re not the fastest way to land your first client. Your personal network offers warmer leads with less competition. Reach out to friends, family, former colleagues, and local businesses first. Once you have a few projects and testimonials, platforms become more viable options.
Useful Resources
For additional insights, check out these valuable resources:
- freelancing resources - Upwork
- freelancer guidance - Freelancer
- content creation insights - Contently
- gig economy tips - Fiverr
- time tracking for freelancers - Toggl